
May 15, 2026
Roof Pitch Calculator: How to Measure and Calculate Roof Slope
Author
9 minute read
Share

Roof pitch affects everything — material quantities, labor time, safety requirements, and the accuracy of every estimate you produce. A roof pitch calculator helps you get that number right without climbing a ladder, but understanding what the number means and how to apply it is just as important as measuring it.
This guide covers how to read and calculate roof pitch, how to convert between notation formats, how pitch affects your material calculations, and how modern roof measurement tools can determine pitch automatically from aerial imagery.
What Is Roof Pitch?
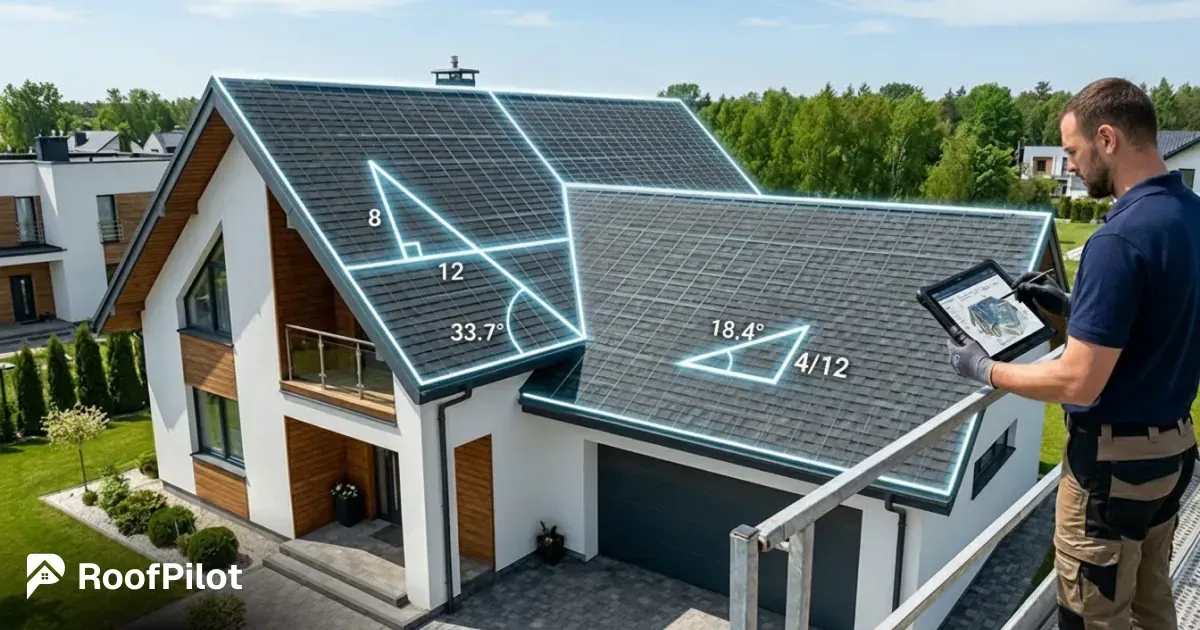
Roof pitch describes the steepness of a roof — specifically, how much it rises vertically for every 12 inches of horizontal distance. When someone says a roof has a "6/12 pitch," they mean it rises 6 inches for every 12 inches of run.
Pitch is expressed three ways in the industry:
X/12 ratio (most common in the U.S.) — the first number is the rise, the second is always 12. A 4/12 is a gentle slope; a 12/12 rises at 45 degrees.
Percentage — rise divided by run, multiplied by 100. A 6/12 pitch equals 50%.
Degrees — the angle from horizontal. A 6/12 pitch is 26.6°.
Most U.S. roofers work in X/12 notation, but knowing the others is useful when reading architectural drawings or working with engineered specs.
Pitch-to-Degrees Conversion Table
This table covers the full practical range and includes the pitch factor — the multiplier you apply to footprint area to get true roof surface area.
| Pitch | Degrees | Percentage | Pitch Factor |
|---|---|---|---|
| 1/12 | 4.8° | 8.30% | 1.003 |
| 2/12 | 9.5° | 16.70% | 1.014 |
| 3/12 | 14.0° | 25.00% | 1.031 |
| 4/12 | 18.4° | 33.30% | 1.054 |
| 5/12 | 22.6° | 41.70% | 1.083 |
| 6/12 | 26.6° | 50.00% | 1.118 |
| 7/12 | 30.3° | 58.30% | 1.158 |
| 8/12 | 33.7° | 66.70% | 1.202 |
| 9/12 | 36.9° | 75.00% | 1.25 |
| 10/12 | 39.8° | 83.30% | 1.302 |
| 11/12 | 42.5° | 91.70% | 1.357 |
| 12/12 | 45.0° | 100% | 1.414 |
| 14/12 | 49.4° | 116.70% | 1.537 |
| 16/12 | 53.1° | 133.30% | 1.667 |
| 18/12 | 56.3° | 150.00% | 1.803 |
The pitch factor is what you multiply against the building's footprint to get actual roof surface area. A 30×40 building at 8/12 pitch has 1,442 sq ft of roof surface — not 1,200. That difference is nearly 2.5 extra squares of material.
How to Manually Measure Roof Pitch

There are five practical methods, each suited to different site conditions.
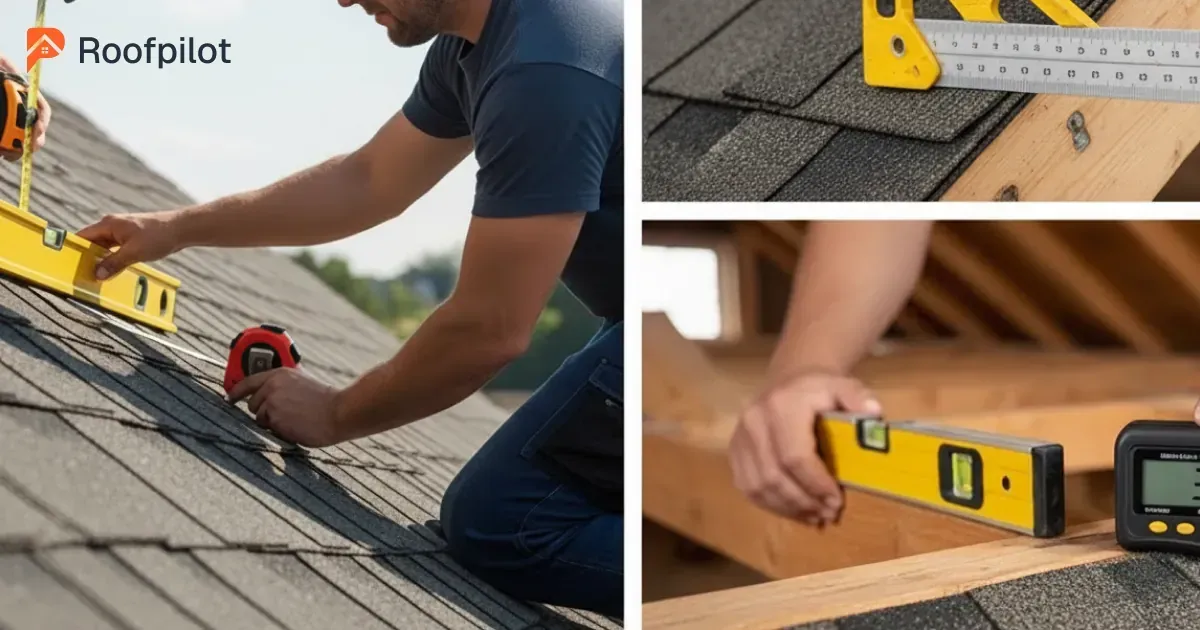
Method 1: Level and Tape Measure (On the Roof)
The most accurate manual method. Place a 12-inch level horizontally on the roof surface with the bubble centered, then measure vertically from the roof surface to the bottom of the level at the 12-inch mark. That vertical measurement is your rise — the first number in your pitch ratio. If you measure 6 inches, you have a 6/12 pitch. Requires roof access and proper fall protection.
Method 2: Speed Square
Many speed squares have pitch markings built in. Place the pivot point against the roof edge or fascia, let the square hang freely, and read where the roof line intersects the pitch scale. Quick and reasonably accurate, but still requires being at roof level.
Method 3: From Inside the Attic
Enter the attic and locate a rafter. Hold a level horizontally against the underside of the rafter, then measure up from the level to the rafter at the 12-inch mark. Safer than roof access and weather-independent, though insulation or framing can obstruct the measurement.
Method 4: Calculating from the Ground
Measure the horizontal distance from the roof edge to a point directly below the ridge (half the building width on a standard gable). Then estimate or measure the vertical height from eave to ridge. Divide rise by run and multiply by 12.
For example: 8 ft rise ÷ 16 ft run = 0.5 × 12 = 6/12 pitch.
No ladder needed, but obstructions and estimation errors reduce accuracy.
Method 5: Digital Angle Finder
Place a digital pitch gauge flat on the roof surface and read the display directly in degrees or X/12 notation. Fast and precise, but requires roof access.
What this means for your business: For a single job, manual measurement is fine. For a company running 10+ estimates per week, the time spent climbing roofs to measure pitch — and the liability that comes with it — adds up quickly. That's where automated measurement changes the math.

How Pitch Affects Material Requirements

Getting pitch right is what separates an accurate estimate from a guess.
Surface Area
A building with a 30×40 ft footprint has 1,200 sq ft of floor space, but the actual roof area depends entirely on pitch. Apply the pitch factor from the table above:
| Pitch | Pitch Factor | Roof Surface Area (30×40 base) |
|---|---|---|
| 4/12 | 1.054 | 1,265 sq ft |
| 8/12 | 1.202 | 1,442 sq ft |
| 12/12 | 1.414 | 1,697 sq ft |
That's a 34% difference between a 4/12 and 12/12 pitch on the same footprint — nearly 5 extra squares. Using footprint instead of true surface area is one of the most common and costly estimating mistakes.

Waste Factor
Steeper pitches generally require higher waste factors. More cuts are needed to align materials properly, and working conditions slow down installation. Add 2–5% additional waste for pitches above 8/12.
Material Compatibility
Not every roofing material works at every pitch. Low slopes (below 4/12) require membranes or modified bitumen — asphalt shingles won't drain properly. Standard asphalt shingles are rated for 4/12 and above. Steep slopes above 9/12 require additional fastening regardless of material type. Using the wrong material for a given pitch can void manufacturer warranties and create liability.
Pitch and Safety
Pitch directly determines the fall protection your crew is legally required to use on-site. According to OSHA's roofing standards, roofs at 4/12 and below generally allow standard precautions, while anything above 6/12 requires a personal fall arrest system or equivalent protection. Roofing is the most cited industry for fall protection violations — knowing pitch before you arrive on site determines what equipment needs to be on the truck.
A general framework:
| Pitch Range | Walkability | Fall Protection |
|---|---|---|
| 0–4/12 | Easy | Standard precautions |
| 5–7/12 | Walkable with care | Non-slip footwear, work perpendicular to slope |
| 8–9/12 | Difficult | Roof brackets, toe boards required |
| 10–12/12 | Non-walkable | Personal fall arrest system required |
| 12/12+ | Steep | May require scaffolding or specialized access |
What this means for your business: Pitch isn't just a number for your estimate — it's a job planning input. Know it before you write the quote, and factor the safety equipment and slower pace into your labor pricing for anything above 8/12.
Common Pitch Ranges by Building Type
Knowing the typical pitch range for the work you're bidding helps you sanity-check your measurements.
Residential ranch homes and craftsman styles typically run 4/12–6/12. Colonial and traditional homes are commonly 8/12–12/12. Tudor and Victorian styles often push above 12/12. Contemporary homes vary widely, sometimes near-flat. Commercial buildings — retail strip centers, warehouses — tend toward flat or low-slope (1/12–3/12). Snow-country residential builds typically use 8/12 or steeper to shed load.
Automated Pitch Measurement
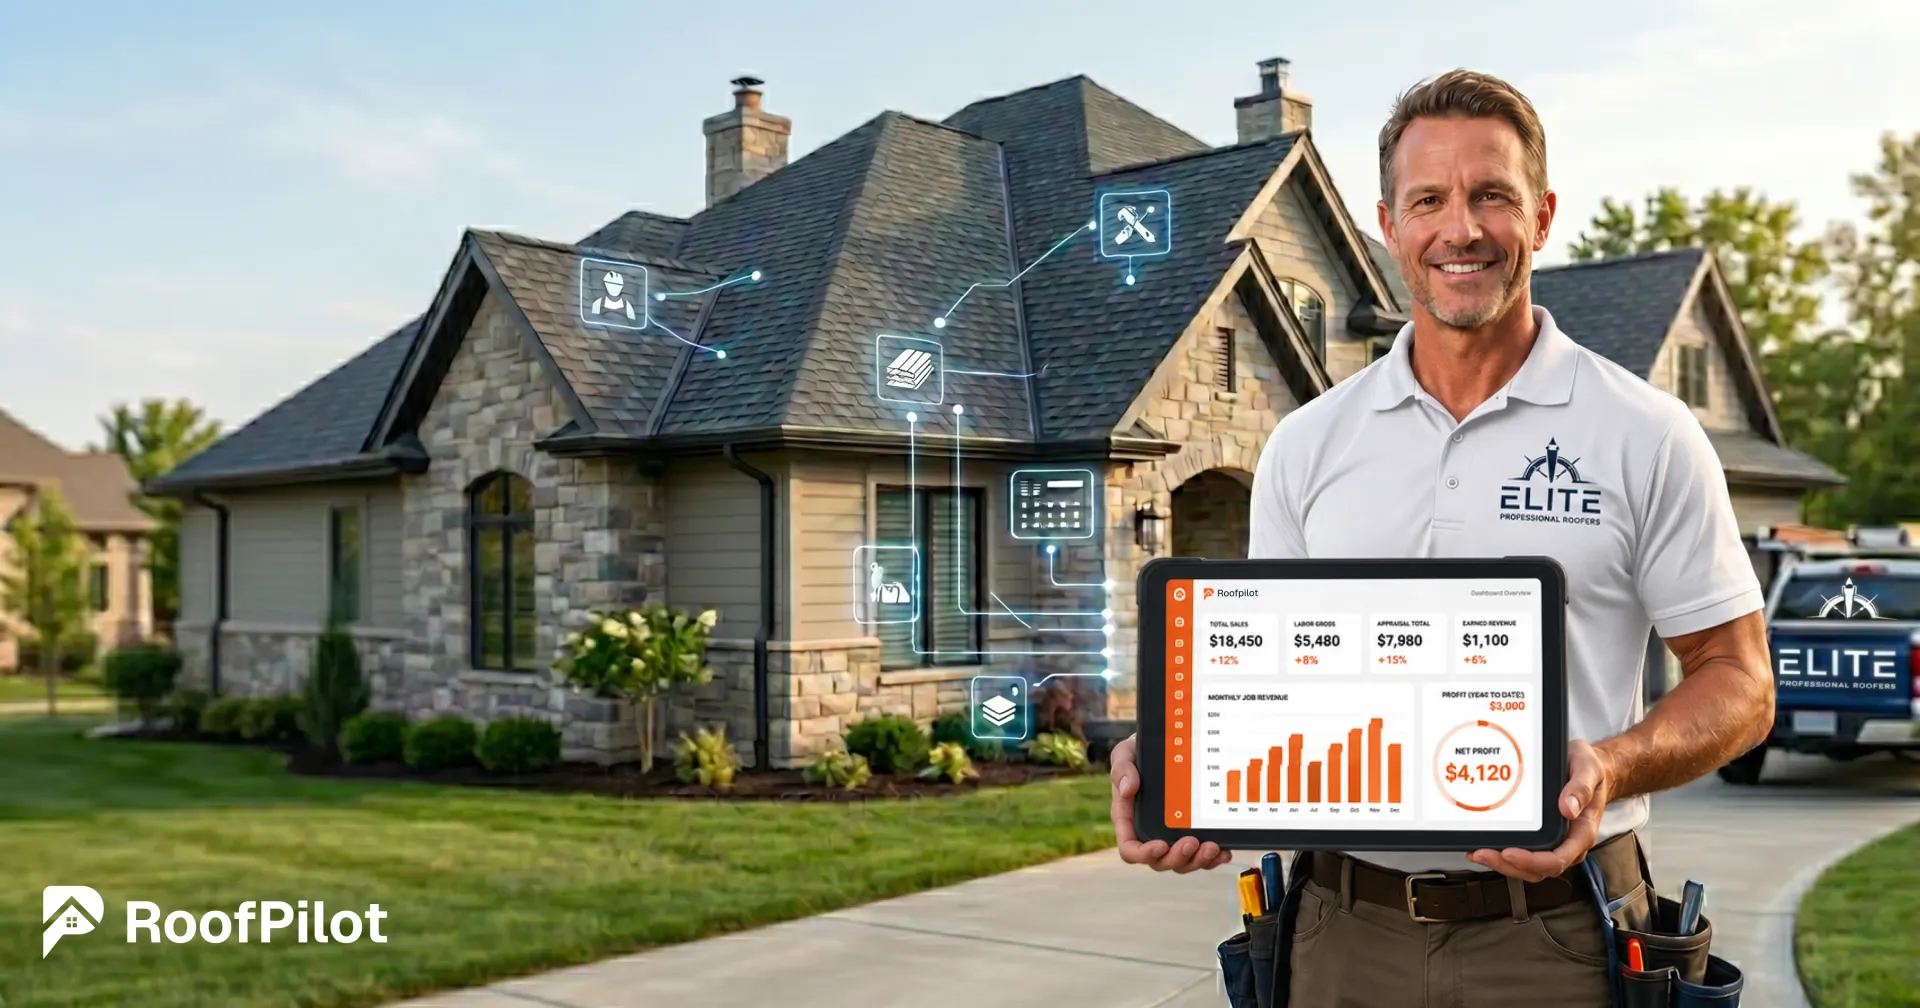
Manual methods work, but they require roof or attic access on every job. Modern RoofPilot-style platforms use aerial and satellite imagery to determine pitch automatically — no ladder required.
The process works by analyzing high-resolution imagery from multiple angles. Software calculates pitch mathematically from the geometry and shadow data in the imagery, then delivers results as part of a full measurement report that includes pitch by section, true roof area, ridge and hip lengths, rake measurements, and penetration locations. That data feeds directly into your estimate, which eliminates the manual calculation step entirely.
For context on how integrated measurement tools fit into the broader decision between all-in-one and multi-tool roofing software, that comparison covers the cost trade-offs in detail.
Common Mistakes to Avoid
Using footprint instead of surface area. A 20-square footprint is not a 20-square roof unless the pitch is zero. Always apply the pitch factor.
Assuming uniform pitch. Many roofs have multiple sections with different pitches — dormers, additions, varying roof planes. Measure each section independently.
Ignoring pitch in labor estimates. A 30-square roof at 4/12 is a fundamentally different job than 30 squares at 12/12 in terms of time, equipment, and difficulty. Price accordingly.
Not recording pitch. Document pitch measurements on every job. You'll need them for material ordering, warranty records, and any follow-up work.
The Bottom Line
Roof pitch drives material quantities, labor time, safety requirements, and estimate accuracy all at once. Getting it right — whether you're measuring manually with a level and tape or pulling it from an automated measurement report — is foundational to every job you price.

The formula is straightforward: know the pitch, apply the pitch factor to get true surface area, adjust labor for steepness, and confirm material compatibility. Do that on every job and your estimates will be consistently more accurate than those of roofers who skip it.