May 18, 2026
Roof Size Calculator: How to Calculate Square Footage of Any Roof
Author
9 minute read
Share

Knowing your roof's exact size is the foundation of every roofing estimate. Get it wrong and everything downstream — material quantities, labor hours, pricing — is wrong with it. Order too few materials and you're making emergency supply runs mid-job. Order too many and you're throwing money away; according to the EPA, construction and demolition waste is one of the largest waste streams in the U.S., and material over-ordering is a significant contributor.
This guide covers how to calculate roof square footage accurately using three different methods, how to handle different roof shapes, and the most common sizing mistakes that end up costing roofers on material costs and margins.
Why Accurate Roof Sizing Matters

For roofers, roof size is the number everything else is built on. Your entire estimate — materials, labor, pricing — flows from it. A 10% error in roof area means a 10% error in your material order, which at today's material prices can easily translate to several hundred dollars of waste or shortage on a single job.

For homeowners, understanding roof size helps make sense of contractor bids and budget estimates. If one roofer quotes 25 squares and another quotes 35, someone is wrong — and knowing your actual square footage is how you figure out who.
Understanding Roofing Squares
The industry measures roofs in squares rather than square feet. One roofing square equals 100 square feet, so a 2,500 sq ft roof is 25 squares. The conversion is simple — divide square feet by 100 to get squares, multiply squares by 100 to get square feet — but it trips people up when units get mixed up on material orders. Always confirm which unit a quote or order is referencing.
Method 1: Ground-Based Calculation
If you can't access the roof, you can estimate roof area from the building footprint combined with pitch.
Step 1 — Measure the building footprint. Measure the overall length and width of the building from the outside, including overhangs (typically 12–24 inches on each side). A building measuring 40×30 ft becomes 43×33 ft once overhangs are added — a difference of more than 200 sq ft.
Step 2 — Determine pitch. Pitch dramatically affects total roof area. For a complete breakdown of how to measure it and the conversion tables, see the roof pitch calculator guide.
Step 3 — Apply the pitch multiplier. Multiply the footprint by the pitch factor to get actual surface area:
| Pitch | Multiplier | Result (1,419 sq ft footprint) |
|---|---|---|
| 4/12 | 1.054 | 1,496 sq ft |
| 6/12 | 1.118 | 1,586 sq ft |
| 8/12 | 1.202 | 1,706 sq ft |
| 10/12 | 1.302 | 1,847 sq ft |
| 12/12 | 1.414 | 2,007 sq ft |
Step 4 — Account for roof shape. The footprint method works well for simple gable and hip roofs. For complex roofs with dormers, bump-outs, or multiple pitch sections, it loses accuracy quickly — in those cases, a more detailed measurement method is needed.
The ground-based approach is best suited to rough estimates, initial customer conversations, and budget ballparking. It typically lands within 10–15% of actual roof area, which isn't tight enough for final material orders.

Method 2: Physical Roof Measurement

The most accurate manual method requires measuring the roof surface directly.
What you'll need: A 100-ft tape measure, pitch gauge, paper for sketching, safety equipment, and ideally a helper.
Start by sketching the roof layout from above — identify all separate sections, mark ridges, hips, and valleys, and note any penetrations. Then measure each section:
For rectangular sections, measure length along the ridge and width up the slope from eave to ridge. Area equals length × width. For triangular hip ends, measure the base along the eave and the height from eave to peak along the slope, then use area = (base × height) ÷ 2. Break complex shapes into rectangles and triangles and sum them.
Unlike the ground-based method, on-roof measurements capture actual surface area directly — pitch is already accounted for because you're measuring the sloped surface itself, not the horizontal footprint. Once all sections are measured, add them up:
- Section A: 800 sq ft
- Section B: 800 sq ft
- Dormer C: 120 sq ft
- Dormer D: 120 sq ft
- Total: 1,840 sq ft = 18.4 squares
Physical measurement is the most precise manual method, but it takes 30–60+ minutes per roof, requires safe access, and is weather-dependent. It's most appropriate for complex roofs where ground-based calculation won't be accurate enough and automated tools need on-site verification.
What this means for your business: Physical measurement makes sense when the job complexity warrants it — steep roofs with multiple sections, dormers, or unusual geometry. For standard residential work, it's often more time than the precision gain justifies, especially when automated tools can match or exceed its accuracy in minutes.

Method 3: Aerial Imagery Measurement

Modern roof measurement tools use aerial and satellite imagery to calculate roof dimensions without any site visit.
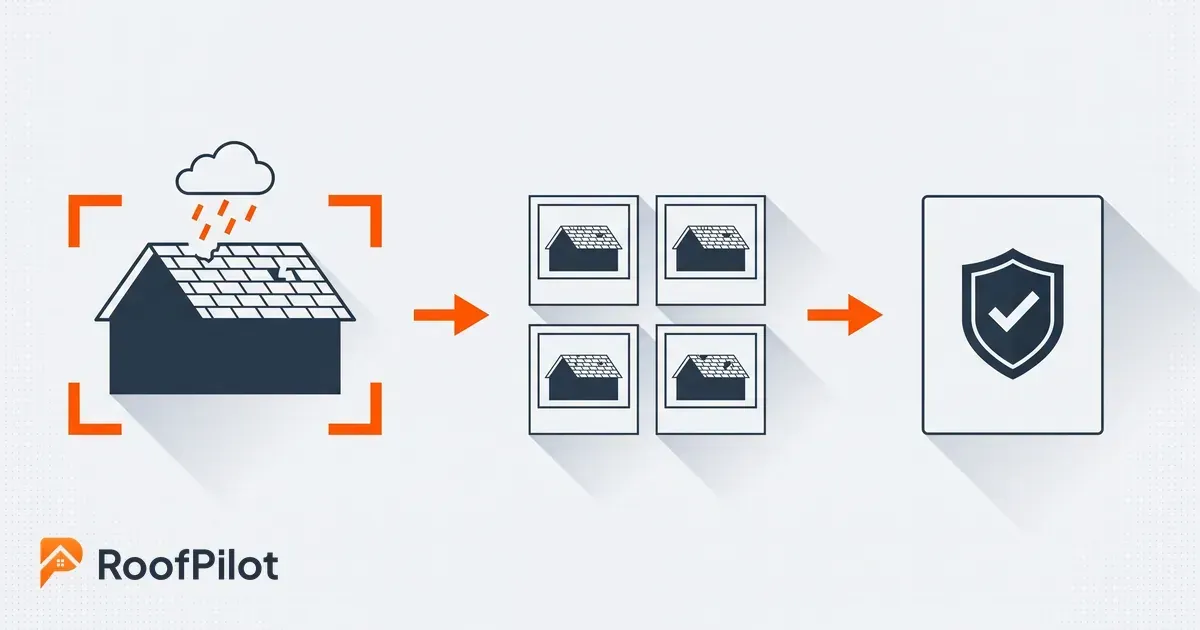
The process: enter the property address, and the software accesses high-resolution aerial imagery, identifies all roof edges and planes, calculates pitch from geometry and shadow analysis, and generates a full measurement report. A typical report includes total roof area (pitch-adjusted), area by section, pitch per section, all linear measurements (ridge, hip, valley, eave, rake lengths), penetration locations, and waste factor recommendations.
The practical advantages over manual methods are speed (minutes instead of hours), no ladder access required, accuracy typically within 1–2% of physical measurement, and consistent documentation that can go directly into a proposal. The limitations are that very new construction may not have current imagery, and dense tree cover can occasionally obstruct views of roof sections.
For most residential work, aerial measurement is the most efficient approach. For roofers evaluating how measurement tools fit into a broader software setup, the guide to RoofPilot-integrated workflows covers how measurements connect to estimates and material orders without manual data re-entry.
Calculating Area for Different Roof Types
Gable roof — Two sloped sections meeting at a ridge. The footprint × pitch multiplier works well. Add 10–15% for overhangs.
Hip roof — Four sloped sections converging at a ridge or peak. The footprint method still works reasonably for simple versions, but hip roofs require more hip and ridge cap material than gable roofs due to all the angled hip lines.
Mansard roof — Four sides each with two slopes (steep lower, flatter upper). Treat as two separate roof systems, calculate each, and sum. Mansard roofs have significantly more surface area than they appear from the ground.
Gambrel (barn-style) — Two sides, each with two slopes. Similar approach to mansard but only two sides — measure each of the four sections independently.
Flat roof — The pitch multiplier is negligible (1.01 or less). Essentially a footprint measurement, though parapet walls should be accounted for if they're part of the surface material scope.
Complex/multi-section roofs — Break into individual sections, calculate each separately, and sum. The key error to avoid is double-counting overlapping areas at intersections.
From Roof Size to Material Quantities
Once you have accurate square footage, material quantities follow a straightforward calculation.
Shingles are typically sold in bundles, with three bundles covering one square (verify with manufacturer specs). A 25-square roof needs 75 bundles before waste — add 10–15% for cuts and trimming, more for steep slopes or complex geometry.
Underlayment coverage varies by product. Standard felt rolls cover approximately 4 squares; synthetic underlayment rolls often cover 10–20 squares. Always check the manufacturer specification rather than assuming.
Hip and ridge cap requires linear feet of all ridge and hip lines, not square footage. Coverage per bundle varies by product (typically 20–35 linear feet). Add 10% for waste.

Starter strips, drip edge, and ice-and-water shield are all calculated in linear feet from your measurement report rather than from roof area directly — which is another reason a full linear measurement report is more useful than square footage alone.
Common Mistakes That Cost Money
Using footprint instead of surface area. A 2,000 sq ft footprint at 8/12 pitch is actually 2,404 sq ft of roof. That's 20% more material than the footprint suggests — a significant error on any job.
Forgetting overhangs. Typical overhangs add 12–24 inches on each side. On a 40×30 ft building, 18-inch overhangs add more than 200 sq ft to the calculation.
Missing sections. Complex roofs have areas that are easy to overlook — covered porches, attached garages, bay window roofs, second-story bump-outs. Walk the full perimeter before finalizing measurements.
Mixing up squares and square feet. 25 squares is 2,500 sq ft. A decimal error in the wrong direction means ordering 10x the material. Always confirm units before placing orders.
Using the wrong pitch. A 6/12 pitch roof has 12% more area than a 4/12 over the same footprint. Using last year's measurement or an approximated pitch compounds errors across every downstream calculation.
The Bottom Line
Accurate roof sizing isn't just a technical exercise — it's what keeps estimates profitable and material orders precise. Whether you're calculating from the ground for a quick ballpark, measuring on-site for a complex job, or pulling automated aerial measurements for your standard residential work, the goal is the same: know the true surface area before you commit to a number.
The pitch factor is the most commonly missed piece. Apply it every time, account for overhangs, and measure every section independently on complex roofs. Get those three things right and your material calculations will be consistently reliable.