August 21, 2026

Before and After Roofing Photos That Win Referrals and Prevent Disputes

Author

Liam Walsh

9 minute read

Share

Before and After Roofing Photos That Win Referrals and Prevent Disputes

Every roofing job tells a story. Before-and-after photos are how you tell it, and for most roofers, that story gets lost entirely. A few images buried in a personal camera roll, a handful of photos texted directly to a homeowner, nothing organized, nothing retrievable, nothing that would hold up if a question came up three months later.

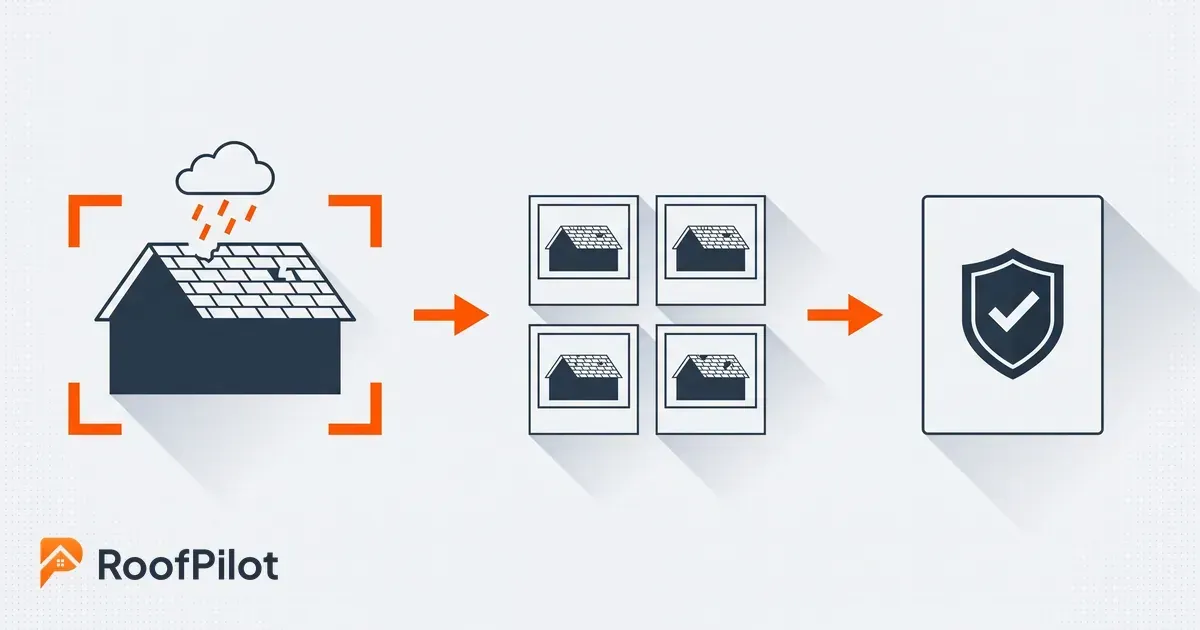
The roofers building the strongest reputations in 2026 are the ones who treat job documentation as a business system rather than an afterthought. A before-and-after photo report delivered at job completion generates reviews at a rate a bare invoice never will. Timestamped before photos end pre-existing damage disputes immediately. Photos of unexpected findings captured before they're addressed make change order conversations straightforward rather than contentious. The broader strategy for using job site photos to win proposals and generate referrals covers the full picture. This guide focuses on the specific discipline of before-and-after documentation and why it's one of the highest-return habits a roofing operation can build.

What Before-and-After Photos Actually Do for Your Business

What Before-and-After Photos Actually Do for Your Business

Most roofers think of job photos as a nice-to-have. The ones who document consistently treat them as a business asset, because that's exactly what they are.

A roof replacement is largely invisible to the homeowner once the work is done. They can't see what was removed, what was found underneath, or whether the installation was done correctly. Documentation gives them what they almost never get from any trade: evidence. Evidence of the condition before you arrived. Evidence of what you found and what you fixed. Evidence of the quality of the finished work. That evidence protects you legally, accelerates insurance claims, closes more proposals, and gives satisfied customers something they can actually share.

The roofer who sends a homeowner a professional before-and-after report at job close is doing something their neighbor's roofer almost certainly didn't do. That differentiation is the seed of a referral.

Before Work Starts: The Photos Most Roofers Skip

Before Work Starts: The Photos Most Roofers Skip

The before photos are the most commonly skipped, and the ones that matter most when something goes wrong. Before any shingle is touched, document the entire roof. This takes 10 to 15 minutes and can prevent hours of dispute resolution.

Shoot the full roof from ground level on all accessible sides. You want a complete picture of the starting condition, one that a judge or insurance adjuster could look at and understand without additional explanation. Any section flagged in the estimate gets its own set of photos: wide to show context, close to show detail. Every piece of flashing and every penetration (pipe boots, chimney flashing, valley flashing, step flashing at walls) gets documented. These are the areas most likely to become disputed if something leaks after the job. If the previous installation was done improperly, photograph it. You don't want to be held responsible for someone else's mistakes.

The condition of the gutters and surrounding landscaping also belongs in the before set. If a plant gets damaged during the job, pre-documentation makes it clear what was there beforehand.

The most important rule for before photos: they need to be attached to the job record immediately, not sitting in a camera roll next to unrelated photos waiting to be sorted. When job site photo documentation lives inside your roofing software from the moment the photo is taken, it stays organized automatically. Every before photo is already where it needs to be before you climb down the ladder.

During the Job: Quality Control and Customer Communication

Mid-job documentation serves two distinct purposes, and both matter.

For quality control, photograph the decking as it's exposed. If you find rot, photograph it before you replace it. If you find a decking issue that will require a change order, photograph it before you address it. A before photo of a problem and an after photo of the fix is the cleanest possible change order documentation. The homeowner sees exactly what was found and exactly how it was resolved. Roofers who photograph unexpected findings before addressing them almost never have change order disputes. Roofers who fix the problem and then try to explain it with words often do.

For customer communication, a midday progress update, a few photos sent through a shareable link, answers the question most homeowners are silently asking: *is anyone actually working on my house?* That uncertainty is what drives the "just checking in" calls to your office. A crew that sends progress photos at midday eliminates most of those calls while building confidence in the professionalism of your operation. The homeowner who felt informed throughout the job is far more likely to leave a review than the one who didn't hear anything until the invoice arrived.

After Completion: Creating a Finished Job Report

After Completion: Creating a Finished Job Report

After photos should be taken before the truck leaves the job site. Once the crew is packed and gone, the moment to capture the finished work is often lost.

Shoot the completed roof from the same ground-level angles used for the before photos so the comparison is direct and unmistakable. Capture the detail work: ridge cap installation, valley work, and flashing at every penetration. Photograph everything that required skill. Three to five close-up photos showing tight nail lines, proper flashing laps, or clean ridge installation tell a quality story and become your best portfolio content. Don't skip the cleaned-up job site: a photo showing tidy landscaping and a clear driveway is often overlooked but matters to homeowners more than most roofers realize.

The before-and-after report assembled from this documentation doesn't need to be elaborate. It needs the customer name and property address, the job date, a summary of scope, the before photos with labels, the after photos at matching angles, and your company logo and contact information. A homeowner who receives this at the end of a job experiences the professionalism of your company in a way that an invoice alone never conveys. They saw their problem. They see it solved. They have something to show their neighbor.

What this means for your business: The homeowner who receives a before-and-after report feels the completion of their job differently than one who just gets a bill. That difference is where reviews and referrals come from, not from doing good work alone, but from making the good work visible.

How Before-and-After Photos Support Insurance Work

For roofers who do insurance restoration work, photo documentation isn't optional. It's the deliverable. The Insurance Institute for Business and Home Safety conducts ongoing research into wind and hail damage patterns specifically because systematic documentation of damage extent and cause is essential to accurate claims evaluation. Adjusters require evidence of the pre-storm condition versus post-storm damage, the extent and location of damage, and the completed work restoring the roof.

Without organized, timestamped, professional documentation, adjusters are slower to approve, more likely to question scope, and more likely to require re-inspection. With a complete photo report from initial inspection through completion, the adjuster has everything needed to process the claim. That means faster approvals, fewer callbacks, and cleaner jobs.

Insurance documentation should cover every area of damage with GPS location data and timestamp, wide shots for context and close-ups for detail, scope documentation that supports each estimate line item, and before-and-after pairs on every repaired area confirming the work matches the approved scope. If you're building an insurance restoration segment of your business, a professional photo documentation system isn't a convenience. It's a competitive differentiator.

Turning Before-and-After Photos Into Marketing Assets

Every completed roof in your portfolio is potential marketing content, and before-and-after pairs are the most compelling format in home services. A portfolio gallery organized by neighborhood, material type, and job scope gives prospective customers evidence before they call. The same photos embedded into proposals, showing finished work from similar jobs in the same area, build confidence during the sale in a way that words alone can't replicate. The right roofing proposal software makes it easy to pull those photos directly into a proposal without switching between apps.

For social media, before-and-after roof photos perform consistently well among homeowner audiences. They're visual, immediately understandable, and require no explanation. For review generation, sending a before-and-after report to a homeowner creates a natural moment of reflection. Following that with a direct review request, with the link included while they're experiencing that satisfaction, produces far higher response rates than a generic follow-up email.

What this means for your business: Documentation created for protection and quality control becomes marketing content with no additional effort. The photos you took to protect yourself against disputes are the same photos that win your next proposal. The report you sent to generate a review is the same report that gets shared with a neighbor.

Before and After Documentation Checklist

Keep this list on every job until the habit is automatic.

Before work starts:

☐  Full roof from all accessible sides (ground level)

☐  All problem areas: wide shot for context, close-up for detail

☐  All flashing and penetrations (pipe boots, chimney, valleys, step flashing)

☐  Any prior workmanship issues or pre-existing damage

☐  Gutters and surrounding landscaping

During the job:

☐  Decking condition once exposed

☐  Any unexpected findings, before addressing them

☐  Mid-job progress update photos for homeowner

☐  Specialty installations (ice and water shield, flashing details)

After completion:

☐  Full roof from all sides, matching before angles

☐  All detail and finish work (ridge, valleys, penetrations)

☐  Cleaned-up job site

☐  Generate and send before-and-after report to homeowner

Related reading:


how to choose a roofing photo app
By Liam Walsh September 7, 2026
How to choose a roofing photo app your crew will actually keep using, the eight features that matter, and why integration decides whether the habit survives.
roofing marketing strategies
By Liam Walsh September 4, 2026
A grounded look at roofing marketing in 2026, the strategies winning work now, why reviews and local search still decide the year, and what is getting pricier.
estimated vs actual roofing jobs
By Liam Walsh August 31, 2026
How to reconcile estimated versus actual on every roofing job, the variance math worked step by step, where jobs go over, and how to feed it into your next bid.
roofing company outgrows spreadsheets
By Liam Walsh August 28, 2026
The signs a roofing company has outgrown spreadsheets, what a spreadsheet still does well, and how to move your jobs to a real system without losing your data.
aerial roof measurements
By Liam Walsh August 24, 2026
See how aerial and satellite roof measurements work, how accurate they really are, which free options are worth trying, and when a paid report earns its keep.
job site photos roofing
By Liam Walsh August 17, 2026
Job site photos help roofers win proposals, prevent disputes, and generate referrals. Here's how to use them strategically on every job.
recession proof roofing business
By Liam Walsh August 14, 2026
How to prepare your roofing business for an economic downturn, cash reserves, cost structure, pricing discipline, and what to do when revenue slows.
why roofing businesses fail
By Liam Walsh August 10, 2026
The most common reasons roofing businesses fail, from cash flow and underpricing to lead management and the operational blind spots that catch most roofers off guard.
roofing software training
By Liam Walsh August 7, 2026
How to get your roofing team to actually use new software. Buy-in strategies, training methods, and how to handle resistance without losing momentum.
how to hire roofers
By Liam Walsh August 3, 2026
How to hire roofing crews that are reliable, skilled, and stay long-term, where to find workers, how to screen them, and how to keep the ones worth keeping.